Computer Setup
Plan for about 30 minutes. Complete this on your own before the first class on Tue, Nov 10.
Laptop requirement: your own Windows or macOS laptop with at least 8 GB of RAM. Bring it, charged, to every session.
If you get stuck, take a screenshot or copy the text you see into Claude, ChatGPT, or Gemini and ask for help. If it still does not work, post in the Canvas discussion board or come to the first class fifteen minutes early.
1. Sign up for a paid Claude account
Skip if you already have a paid Claude plan.
- Go to claude.com/pricing
- Sign up for Claude Pro ($20/month)
Claude Pro is enough for this module. You can cancel when the module ends. If cost is a barrier, email the instructor before the first class; see step 7 for a free alternative.
2. Create a free GitHub account
- Go to github.com and create a free account
- Optional but useful: apply for the GitHub Student Developer Pack with your Gonzaga email. It includes GitHub Copilot at no cost.
3. Create a free Supabase account
- Go to supabase.com and sign up for a free account
- Sign up with your GitHub account for easier integration
You will use Supabase (a hosted database) starting in week 4.
4. Create a free Vercel account
- Go to vercel.com and sign up for a free account (the Hobby plan)
- Sign up with your GitHub account for easier deployment
5. Install Visual Studio Code (VS Code)
- Download from code.visualstudio.com
- During installation, if prompted:
- Check "Add to PATH"
- Enable the "Open with Code" context-menu option (Windows)
6. Install and start Claude Code
- Open VS Code
-
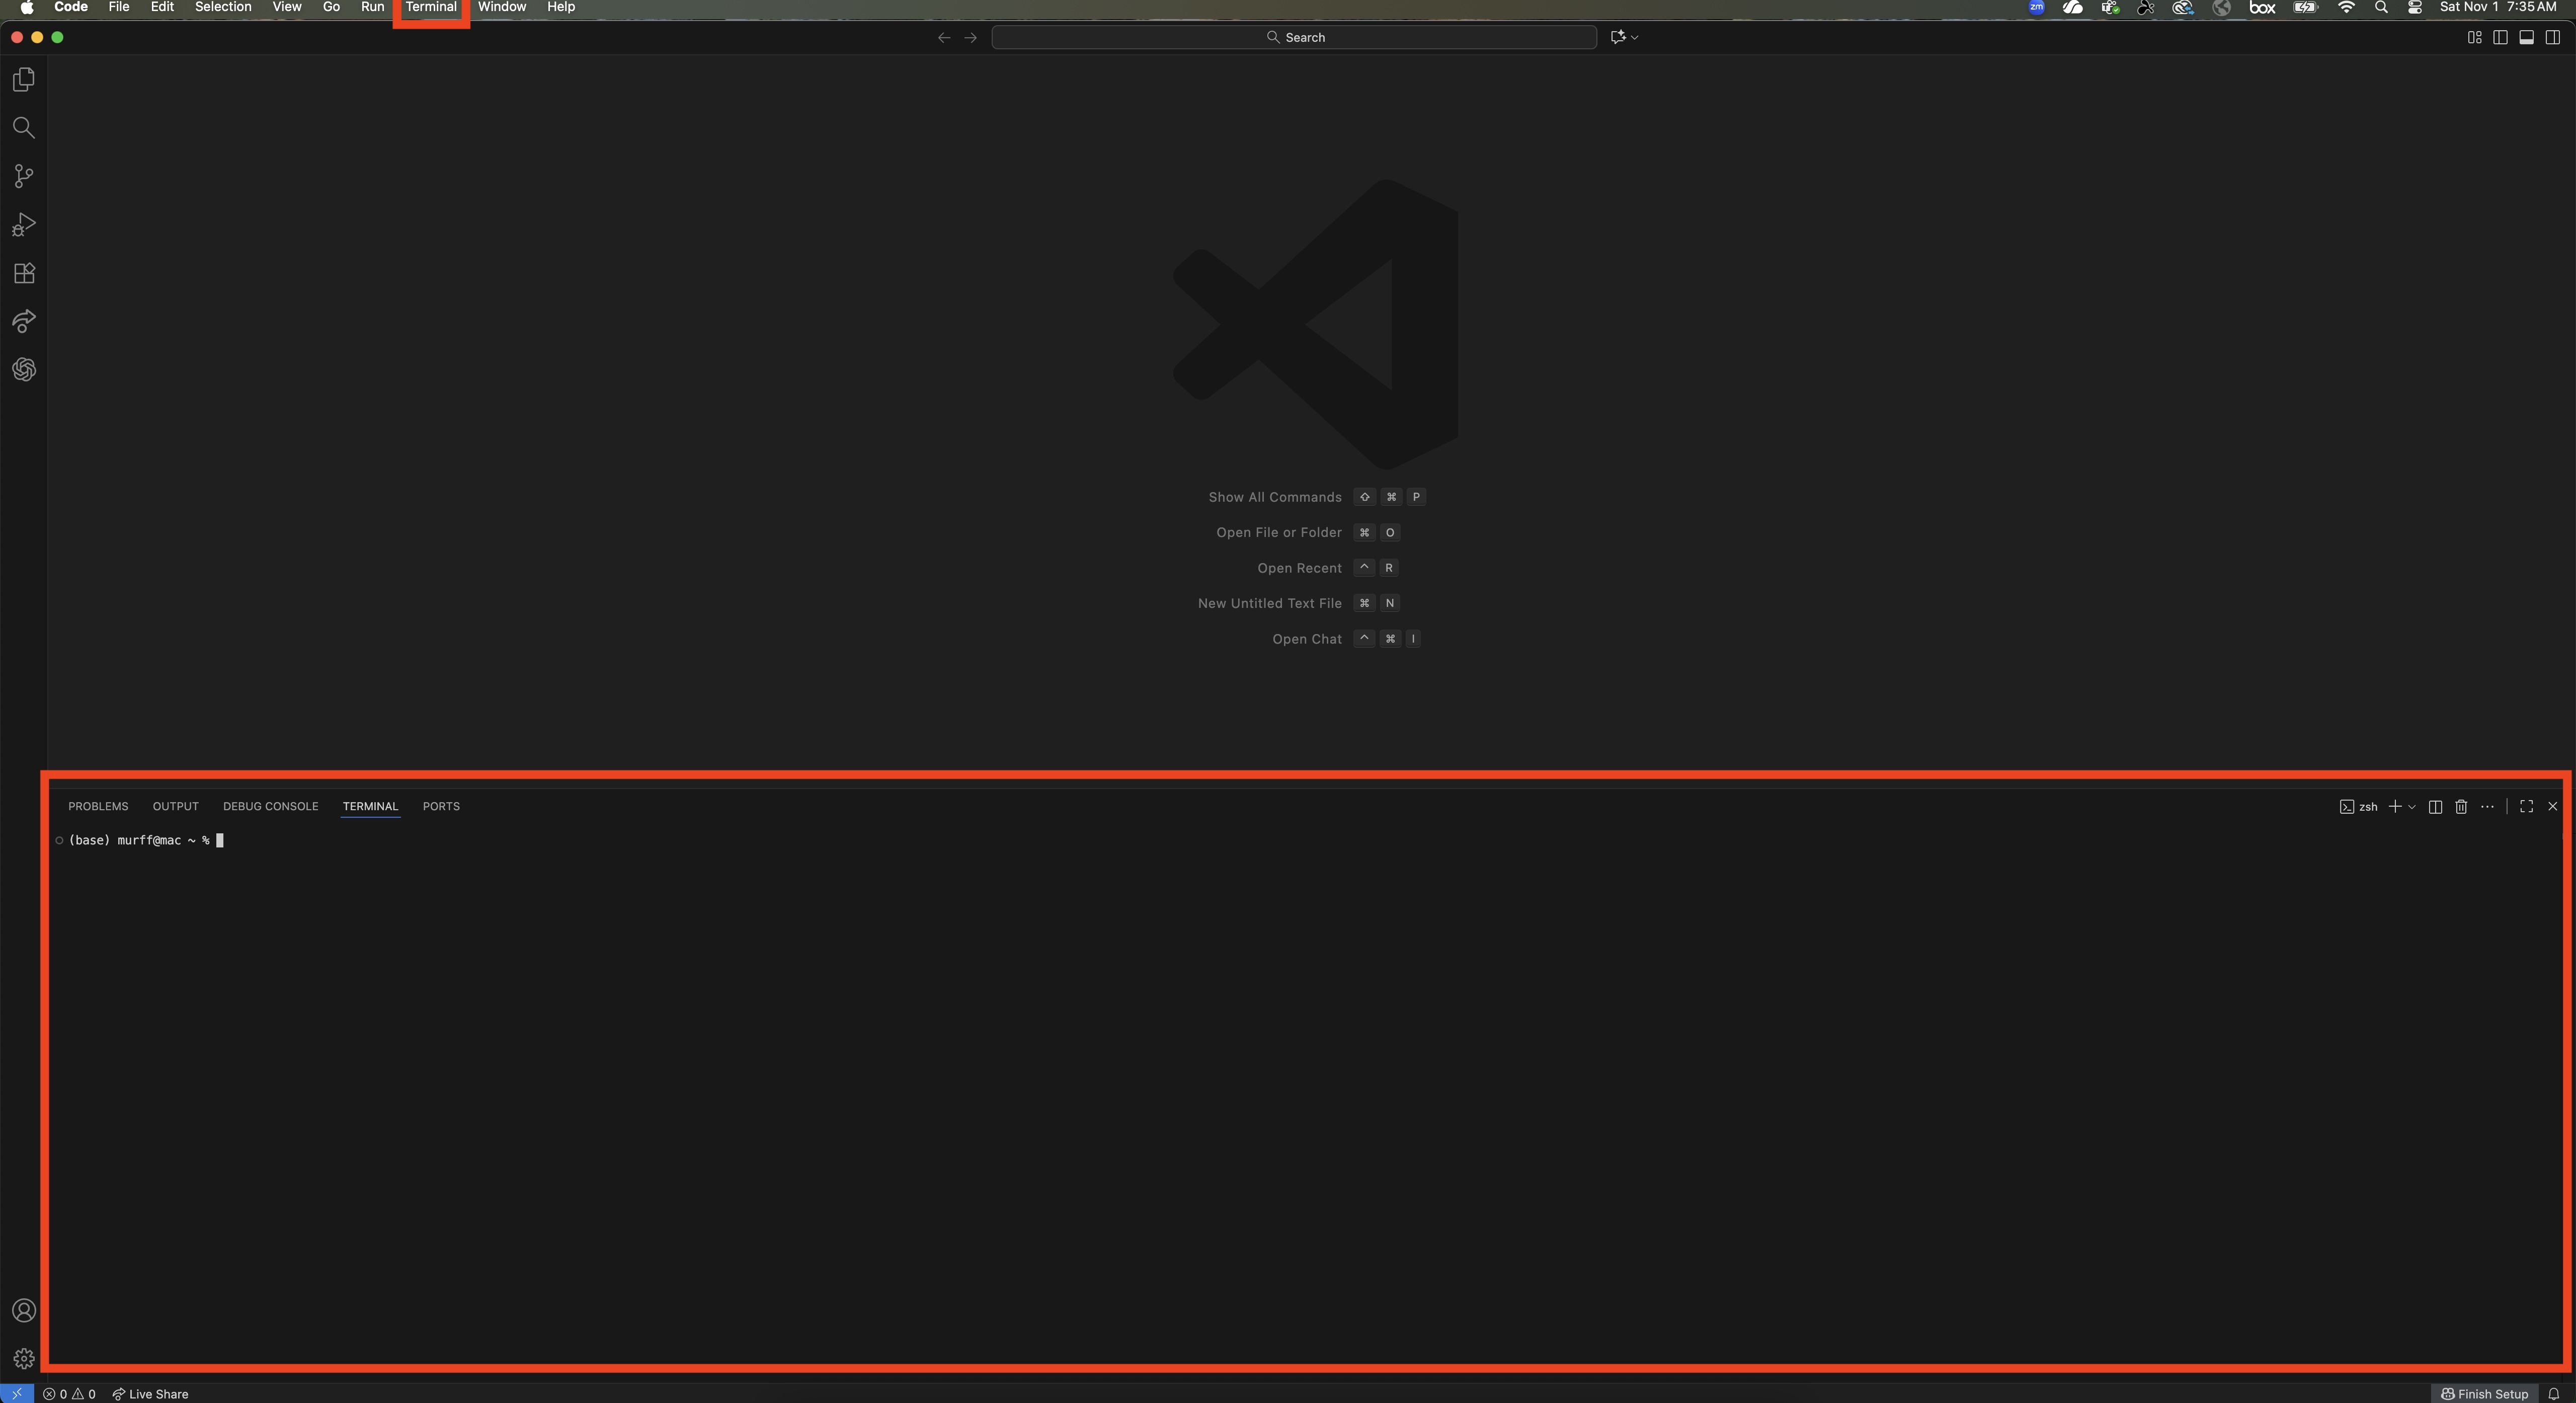
In the top menu bar, click Terminal → New Terminal. A terminal opens at the bottom of the window:
Run one of these commands in the terminal, depending on your operating system, and press Enter.
Windows (PowerShell)
macOS
-
Check that it worked:
-
Start Claude Code:
A browser tab opens so you can sign in to your Claude account. When you return to VS Code you should see the welcome screen:

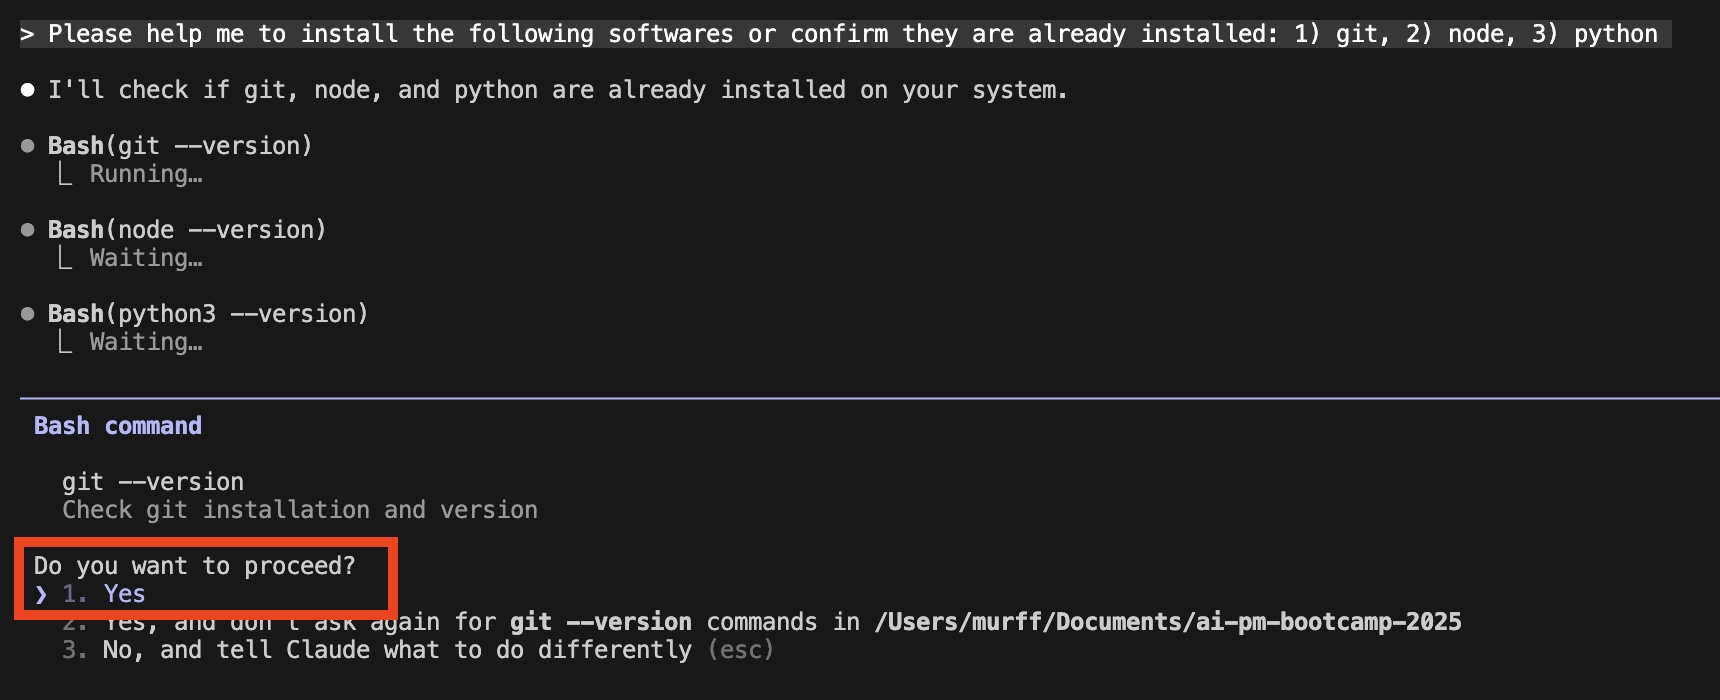
Now let Claude install the rest. Paste this prompt and press Enter:
Please help me install the following software, or confirm it is already installed: 1) git, 2) node, 3) python, 4) the GitHub CLI (gh). Explain each one in one sentence.
Press Enter to approve each step when Claude asks.
Using the terminal
You cannot click inside a terminal line to move the cursor. Use the arrow keys to move left and right, Backspace (Windows) or Delete (Mac) to erase, and ↑ to recall your last command.
Recommended VS Code extensions
Open the Extensions view (Cmd+Shift+X on macOS, Ctrl+Shift+X on Windows), search for each name, and click Install. All are free.
| Extension | Why it helps when you build with Claude Code |
|---|---|
| ESLint | Its warnings appear in VS Code's Problems panel, which Claude can read |
| Prettier - Code formatter | Your edits and Claude's follow one style |
| GitLens | Shows who changed each line and when, which helps you review what Claude changed |
| Markdown Preview Mermaid Support | Shows the Mermaid diagrams you will draw in Labs 4 to 6 |
7. Optional: other AI coding agents
Instruction in this module uses Claude Code, but the skills transfer. GitHub Copilot CLI is free
for verified students through GitHub Education,
and it reads the same CLAUDE.md and skills files, so it is the closest free substitute.
Start it from a terminal in your project folder with copilot. Claude Code and Other Coding Agents maps the commands you learn here to Copilot, Codex, and Antigravity.
8. Before the first class: checklist
-
claude --versionprints a version number -
git --versionandnode --versionprint version numbers -
gh auth statussays you are logged in to GitHub (if not, rungh auth login --webyourself and follow the prompts) - You can sign in to GitHub, Supabase, and Vercel
You will create your project repo in Lab 1.